> ## Documentation Index
> Fetch the complete documentation index at: https://docs.oasm.dev/llms.txt
> Use this file to discover all available pages before exploring further.
# Integrations
> Connect third-party applications to your workspace
Connect third-party applications to your workspace so OASM can pull context in and push alerts out.
## Kinds of integrations
Integrations fall into three kinds:
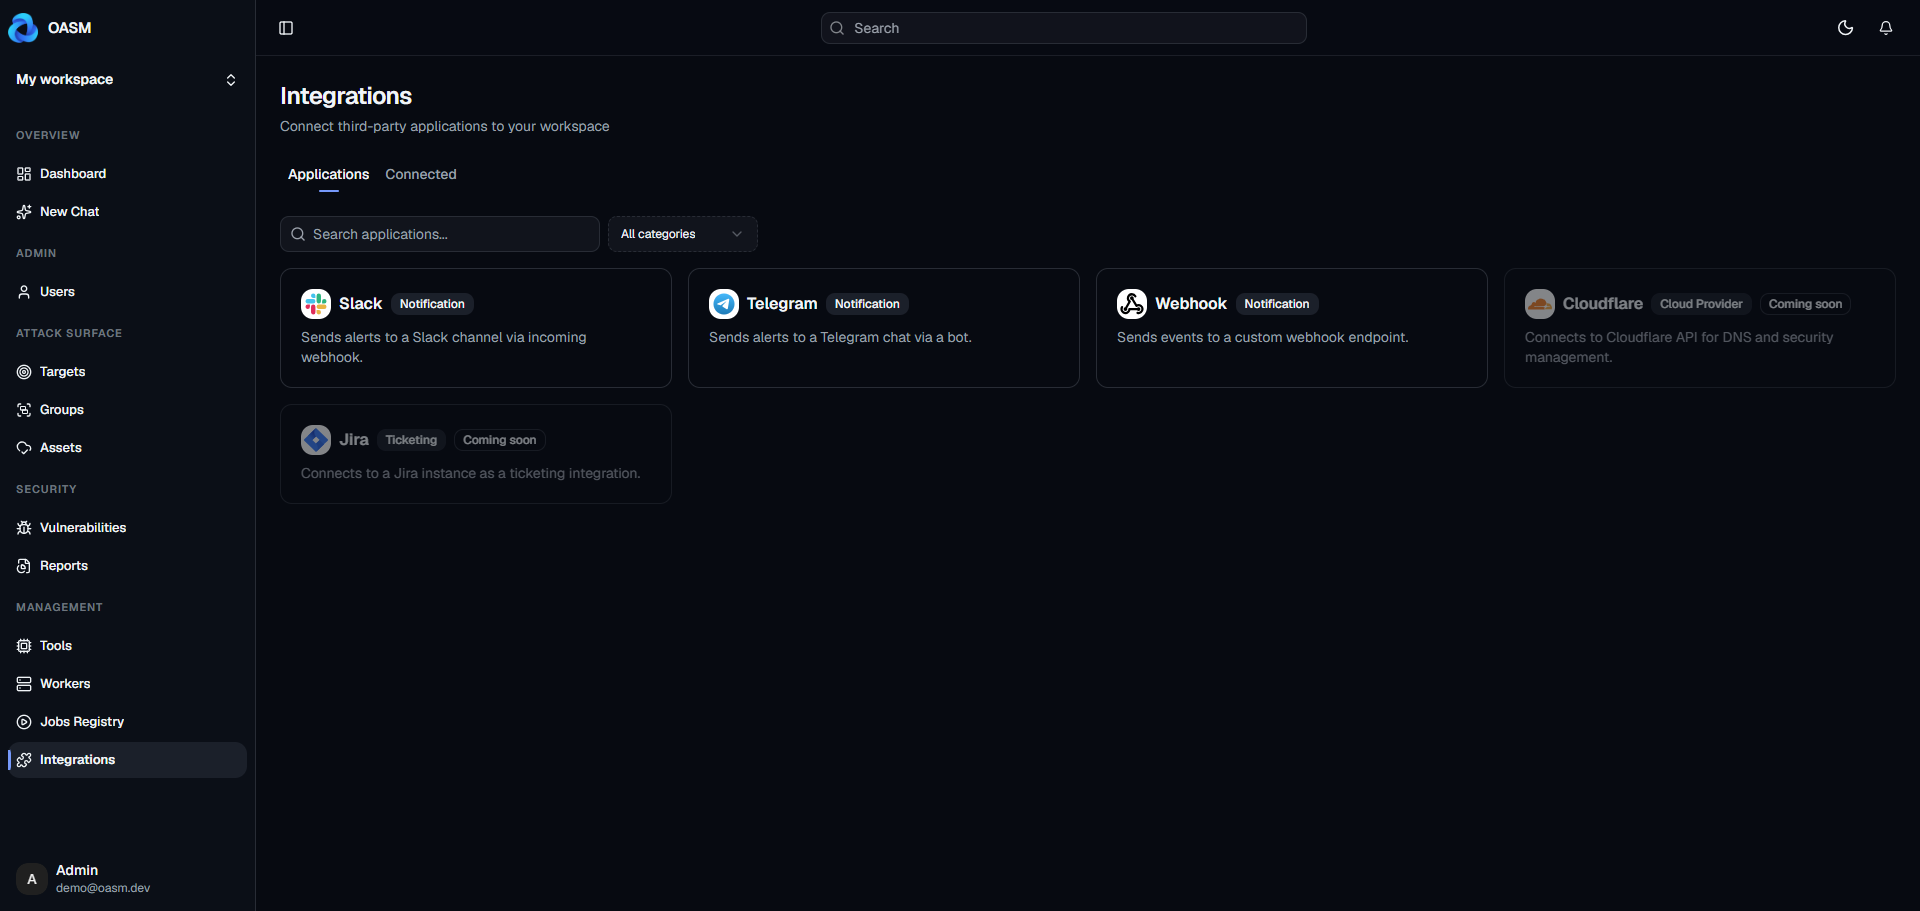
* **Cloud providers** — connect services that protect your infrastructure. **Cloudflare** connects your DNS and security services; OASM synchronizes your domain data on a regular schedule so your inventory stays current.
* **Notifications** — get alerts where your team already works. **Slack** and **Telegram** deliver messages to your channels and chats, and **Webhook** forwards events to any endpoint you control.
* **Ticketing** — turn findings into tracked work items. **Jira** is coming soon.
***
## Applications Tab
The **Applications** tab shows all available integrations you can connect. Use the search bar to find a specific app, or filter by category using the dropdown.
Click on an app card to open the connection form.
### Connect an integration
The connection form opens as a sheet on the right side. Fields are dynamically rendered based on the app type:
1. Enter an **Integration name**
2. Fill in the app-specific fields (see guides below for each type)
3. Toggle the event and severity switches to control which notifications are sent
4. Click **Connect**
The **Event** section controls which types of events trigger notifications. The **Severity** section filters by severity level. Both default to sending all events and critical/high severities.
After a successful connection, you'll see a confirmation message and the integration appears in the **Connected** tab.
***
## Connected Tab
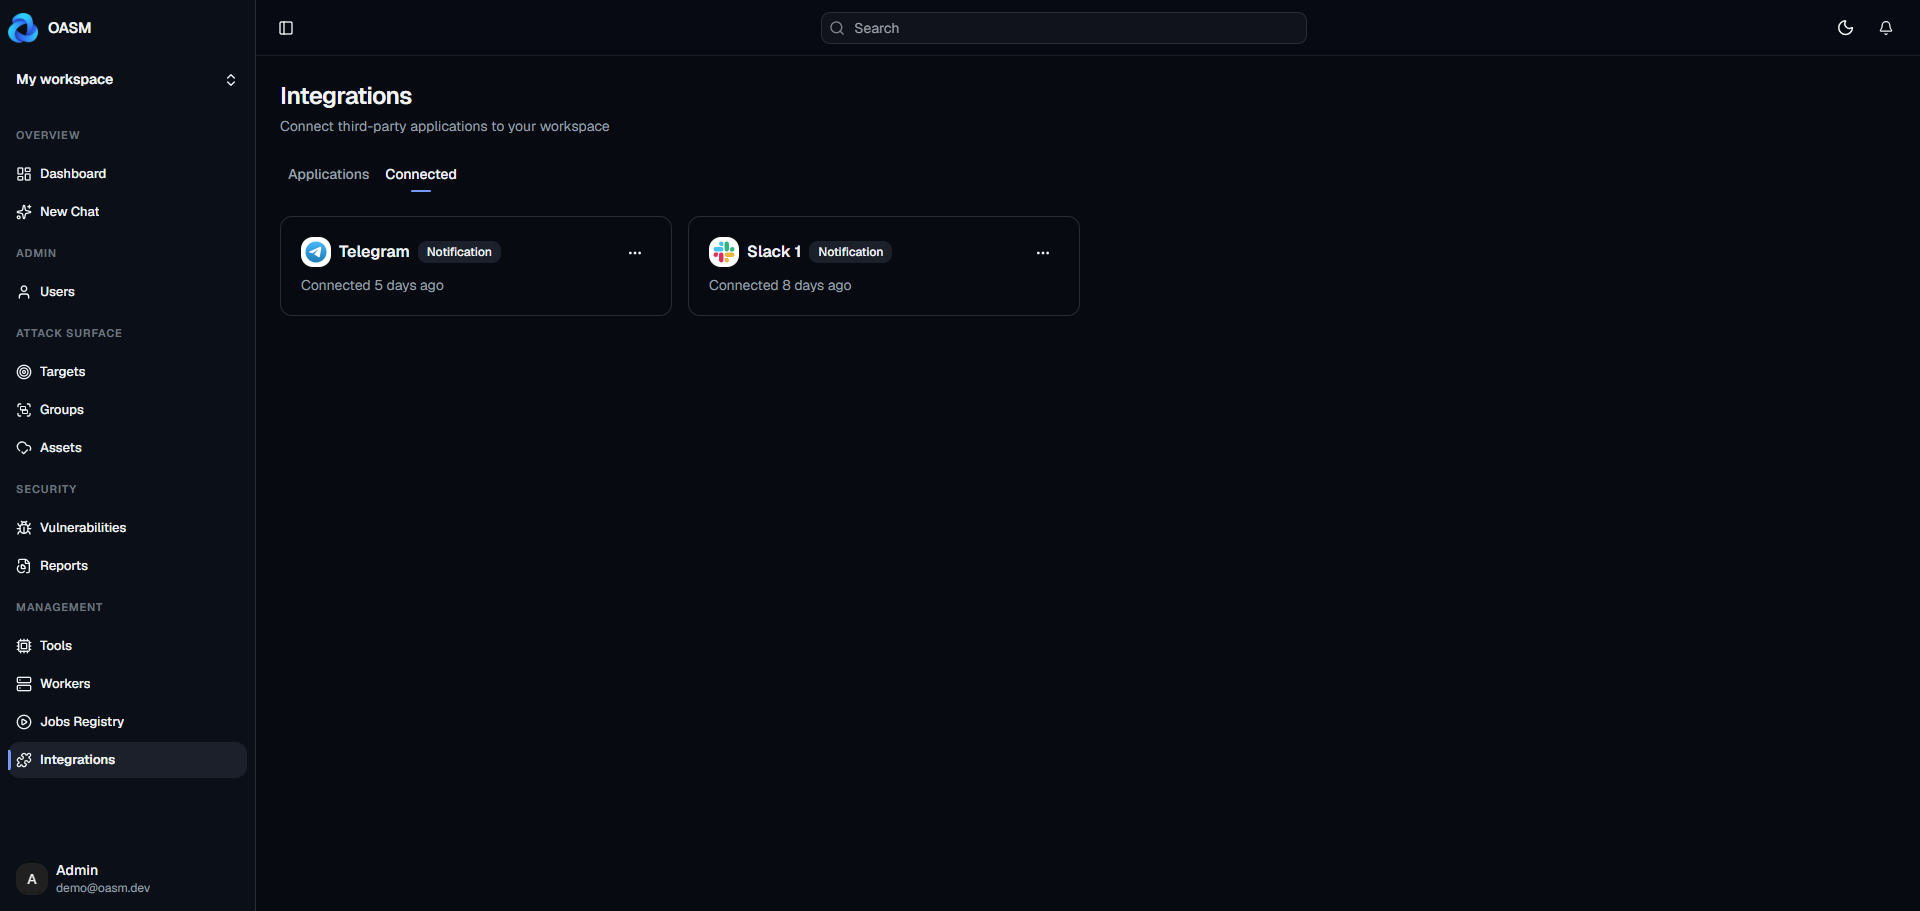
The **Connected** tab lists all integrations in your workspace, sorted by creation date. Each card shows the integration name, category, and when it was connected.
### View and manage
Click a connected integration card to open its detail sheet:
* **Edit** — modify the name or configuration fields
* **Test Integration** — send a test notification to verify the connection
* **Telegram Pairing** (Telegram only) — manage paired Telegram devices
* **Disconnect** — open the "..." menu and select **Disconnect**, then confirm
***
## Webhook
Sends events to a custom webhook endpoint.
### Connect
1. Go to the **Applications** tab
2. Click **Webhook**
3. Enter an **Integration name**
4. Enter the **URL** (the endpoint that will receive the webhook payload)
5. Configure event and severity toggles
6. Click **Connect**
### Test
Open the integration detail sheet and click **Test Integration**.
***
## Slack
Sends alerts to a Slack channel via incoming webhook.
### Prerequisites
1. Go to [api.slack.com/apps](https://api.slack.com/apps)
2. Create a new app or use an existing one
3. Enable **Incoming Webhooks**
4. Click **Add New Webhook to Workspace** and select the target channel
5. Copy the webhook URL
### Connect
1. Go to the **Applications** tab
2. Click **Slack**
3. Enter an **Integration name**
4. Paste the **Webhook URL** from Slack
5. Optionally enter a **Bot Username** (display name for the bot)
6. Configure event and severity toggles
7. Click **Connect**
### Test
Open the integration detail sheet and click **Test Integration**. Check the Slack channel for the test message.
***
## Telegram
Sends alerts to Telegram chats via a bot. Each user must pair their Telegram account after the integration is created.
### Prerequisites
1. Open Telegram and search for **BotFather**
2. Send /newbot and follow the prompts
3. Copy the bot token from BotFather
### Connect
1. Go to the **Applications** tab
2. Click **Telegram**
3. Enter an **Integration name**
4. Paste the **Bot Token** from BotFather
5. Configure event and severity toggles
6. Click **Connect**
### Pair a Telegram device
After connecting, open the integration detail sheet. In the **Telegram Pairing** section:
1. Click **Pair** to open the pairing dialog
2. Click **Generate Pairing Token**
3. Scan the QR code with your phone, or click **Open Telegram** to open the bot with the token
4. The connection status changes to **Connected** once paired
The pairing token expires after **10 minutes**. Click **Generate New Token** to create a fresh one. Multiple users can pair their own Telegram accounts to the same integration.
### Disconnect a device
In the **Telegram Pairing** section, click the **Unplug** button next to the device you want to remove, then confirm.
### Test
Open the integration detail sheet and click **Test Integration**. Check your Telegram chat for the test message.
***
## Managing Integrations
### Edit
Open the integration detail sheet and click **Edit**. Modify the fields and click **Save**.
### Disconnect
Open the integration detail sheet, click the **...** menu, and select **Disconnect**. Confirm the dialog to remove the integration.
Disconnecting an integration is permanent. You'll need to reconnect it from the Applications tab to use it again.